

Removing expanding foam – methods for fresh and cured PU foam
Expanding foam bonds strongly – which is exactly what makes it so stubborn to remove.
If some has ended up where it shouldn’t, you need to know how to get rid of it effectively.
One thing is crucial for removal: is the foam still fresh or has it already cured?
Because that determines which method will work – and how laborious the removal will be.
Fresh or cured expanding foam – what you need to know
Before you start removal, it is worth taking a quick look at the state of the foam.
If the expanding foam is still soft or tacky, you have a clear advantage: in this state, it can usually be removed relatively easily. However, as soon as the foam has cured, removal becomes much more laborious.
You can find out how this process works here.
Usually, mechanical or chemical methods are then used.
In short:
- You should remove fresh foam immediately.
- You have to treat cured foam – for example, by cutting it off, scraping it or using special removers.
The faster you react, the easier the cleaning will be.
Removing fresh expanding foam
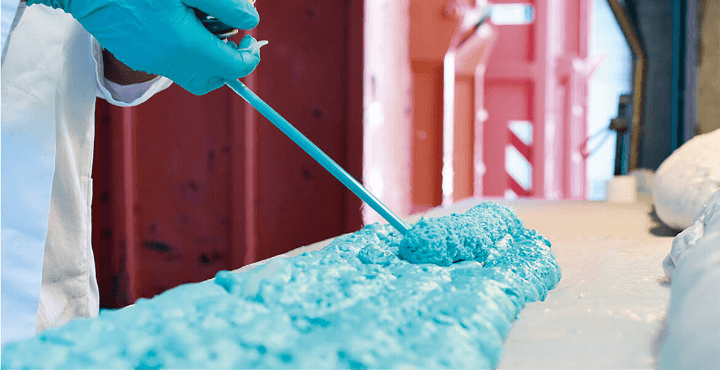
Fresh PU foam can be removed relatively easily – acting fast is the secret.
Carefully wipe off the residue with a cloth. Make sure not to smear the foam, but rather to lift it off as cleanly as possible.
A simple but very effective practical trick:
A cloth soaked in cooking oil can help to loosen the foam residue much more easily.
Oily cleaning wipes – such as baby wipes – are also well-suited for removing fresh foam gently.
Further information on handling PU foam can be found here.
Removing cured expanding foam – how to proceed
Once the expanding foam has already set, removal becomes much more laborious. In this case, mechanical or chemical methods are used – often in combination.
As a rule of thumb: first remove as much material as possible mechanically before taking further steps.
Mechanical removal: cutting, scraping, sanding
In the first step, cut off the bulk of the foam residue as far as possible. Fine blades such as razor blades, craft knives or utility knives are suitable for this.
Once the larger residues are removed, take care of the fine remains. This depends heavily on the surface.
For sensitive materials, it is best to work carefully with fine steel wool, sandpaper or a sponge with water and washing-up liquid.
For somewhat more robust surfaces – such as uPVC windows – you can also work with a fine wire brush or sandpaper.
Very hard substrates may also tolerate the use of a ceramic hob scraper.
In any case, it is important: first test the method in an inconspicuous area.
Removing expanding foam chemically
Applying and using PU foam remover correctly and effectively
If mechanical methods are not enough, special PU foam removers can be used. These chemically dissolve the cured foam.
Proceed step by step:
First, remove as much residue as possible mechanically. Then apply the remover according to the manufacturer’s instructions and allow it to take effect.
Afterwards, you can carefully remove the softened foam residue with a wooden spatula and clean the surface. Repeat the process if necessary.
What you should look out for with PU foam removers
PU foam removers contain solvents and can attack sensitive materials.
Generally, such products are compatible with tiles, stone, glass, wood and metal surfaces such as aluminium or steel. Laminate and Formica are also usually unproblematic. Caution is advised with PVC, as well as with painted or anodised surfaces.
We have detailed how PU foam behaves with various building materials here:
Compatibility of PU foam with building materials
Always test the remover in an inconspicuous area first.
Furthermore, you should protect your skin and eyes and ensure good ventilation.
Alternative for fresh foam:
As long as the foam has not yet cured, you can also use acetone-based nail polish remover.
However, acetone is no longer effective on cured PU foam.
Removing expanding foam – typical use cases
Specific procedures depending on the surface
In everyday situations, the correct procedure depends heavily on the specific surface.
Removing expanding foam from plastic window frames
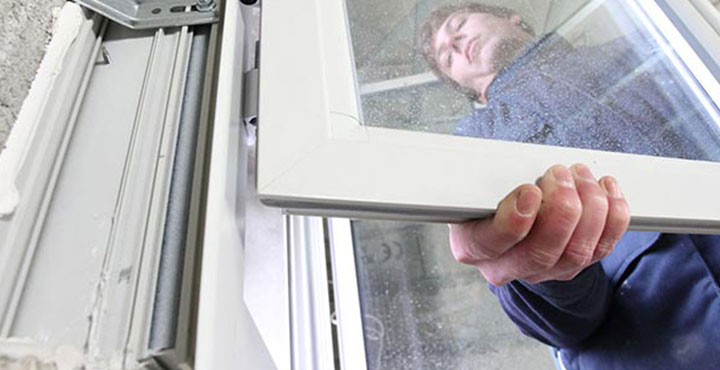
For plastic surfaces, start by carefully removing the bulk of the residue with a knife or a razor blade. You can then follow up with a damp sponge and a little washing-up liquid.
If that is not enough, remaining residues can often be removed with a fine wire brush or sandpaper. Only if these methods doesn’t do the trick should you use a PU foam remover.
Be sure to test the material compatibility beforehand, as plastic surfaces can react sensitively.
Removing expanding foam from wood
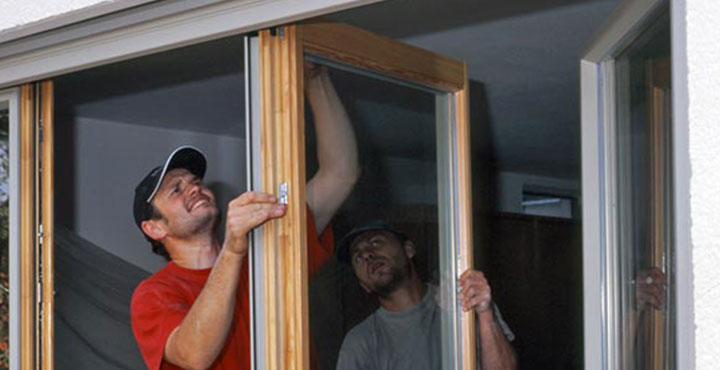
Specific considerations for porous and treated surfaces
Wood reacts more sensitively than many other materials. Therefore, you should proceed with particular caution here.
Generally, a similar procedure to that for plastic applies. However, the foam can penetrate the pores of the wood, meaning that discolouration cannot always be completely removed.
In such cases, it may be useful to lightly sand the surface and then re-treat or varnish it.
A tried-and-tested practical tip: protect sensitive wooden surfaces with masking tape before starting work. Once cured, the foam can be peeled off along with the tape – with no need for any rework.
Removing expanding foam from skin and hands
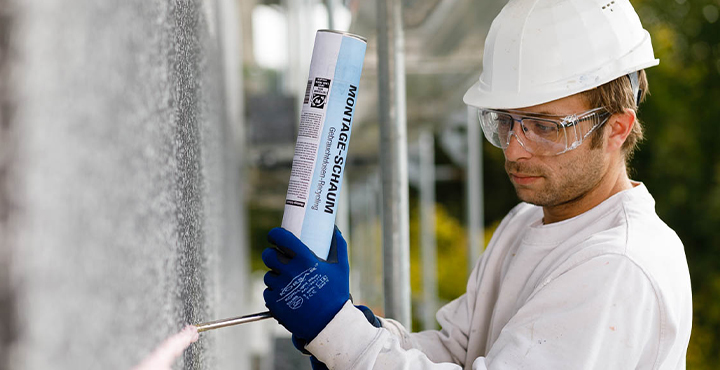
You should avoid using chemical cleaners on the skin. Patience is required above all else here.
The best way to remove fresh foam from the skin is with a rag soaked in cooking oil or with oily baby wipes.
Alternatively, you can rub the foam off skin and hands with plenty of water, washing-up liquid and patience.
Or you can try the same with a heavy-duty hand cleaning paste or even scouring cream.
Smaller residues often come off by themselves after a while. Afterwards, it is recommended to apply plenty of moisturiser so that the skin can regenerate.
However, it is best to avoid skin contact from the outset – for example, by wearing gloves.
We have summarised what else you should consider for the safe handling of expanding foam here:
Removing expanding foam from clothing
Removing expanding foam from clothing is often a difficult task. Once the foam has cured, it can usually no longer be completely removed from the fibres.
You can try to remove the residue mechanically, but you must expect the fabric to be damaged or discolouration to remain.
While the foam is still fresh, an attempt with acetone-based nail polish remover or PU foam remover may help – though there is also a risk of the fabric being damaged here.
In practice, therefore: when working with expanding foam, it is best to wear clothes you don’t mind getting messy.
Avoiding expanding foam splashes – how to work cleanly
The most effective approach is to ensure that expanding foam does not land where it will later need to be removed.
Therefore, cover sensitive areas with plastic sheeting or masking tape before starting work. You then simply peel off the cured expanding foam along with the sheeting or tape.
Don’t forget personal protection: gloves, long clothing and safety goggles help to reliably protect skin and eyes.
For your own safety, you should also observe the most important safety measures for PU foam.
We have put together typical mistakes when handling expanding foam for you here.
Frequently asked questions about removing expanding foam
The best way to deal with fresh expanding foam is to remove it straight away. Carefully wipe off the residue with a cloth before the foam cures.
A cloth soaked in cooking oil is very helpful, as it helps to loosen the foam more easily. Oily cleaning wipes, such as baby wipes, can also work well.
It’s important not to smear the foam. Instead, try to lift it off as cleanly as possible.
Yes, cured expanding foam can be removed – but it takes a lot more effort.
In most cases, it is removed mechanically, for example by cutting, scraping, or sanding. Alternatively, special PU foam removers can be used to chemically dissolve the foam.
Depending on the surface, complete removal isn’t always possible.
In practice, a combination of both is usually your best bet.
You should always start by removing as much of the expanding foam as possible mechanically. Chemical products should then be used if the residue cannot be completely shifted this way.
This reduces the risk of damaging the surface underneath.
For fresh expanding foam, simple household items can help. Cooking oil is particularly effective at making clean-up easier.
Acetone-based nail polish remover can also work on fresh foam. However, these household remedies usually have no effect on cured expanding foam.
You should avoid using harsh chemical cleaners on your skin.
Fresh foam can be removed with an oily wipe or rubbed off with water and washing-up liquid. Heavy-duty hand cleaners, scouring cream, or baby wipes can also help.
Smaller residues often come off by themselves after a while. Afterwards, it’s a good idea to apply a generous amount of moisturiser.
In most cases, only with limited success.
Once the expanding foam has cured, it usually cannot be fully removed from fabrics. Mechanical scraping is possible, but it may damage the material.
With fresh foam, you could try nail polish remover – though there is a risk of damaging the fabric here too.
The most sensitive surfaces include:
• painted or varnished surfaces
• anodised metals
• certain plastics (e.g. PVC)
You should be extra careful here and always test any method on an inconspicuous area first.
The best way is through good preparation.
Cover adjacent surfaces with plastic sheeting or masking tape and wear protective clothing like gloves and long sleeves.
This prevents the expanding foam from getting onto sensitive areas to begin with.
This may also interest you
![[Translate to Englisch:] Zargenschaum](/fileadmin/PU-Schaum-Center/PU-Schaumarten/img_PU-Schaumarten_Zargenschaum_Innentueren.png "[Translate to Englisch:] Zargenschaum")
Frame foam – the specialist for interior doors
![[Translate to Englisch:] Fensterschaum](/fileadmin/PU-Schaum-Center/PU-Schaumarten/img_PU-Schaumarten_Fensterschaum.png "[Translate to Englisch:] Fensterschaum")
Window foam: a flexible construction foam
![[Translate to Englisch:] PU-Schaum richtig verarbeiten](/fileadmin/PU-Schaum-Center/PU-Schaum_in_der_Praxis/img_PU-Schaum_richtig_verarbeiten.jpg "[Translate to Englisch:] PU-Schaum richtig verarbeiten")